


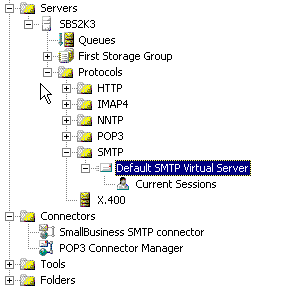
Step 1. Launch the Exchange Server Management Console. Under Servers, go to Protocols and then SMTP. Right Click on Default SMTP Virtual Server and Select Properties
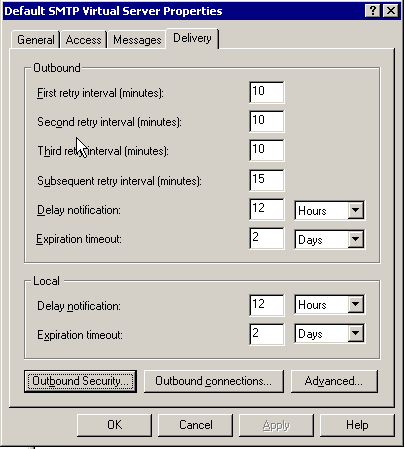
Step 2. Click on the Delivery Tab. At the bottom, click the Outbound Security button.
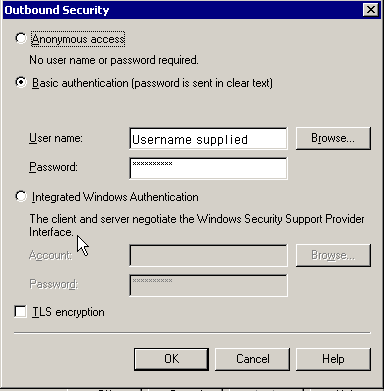
Step 3. In here, select Basic Authentication and enter the Username and Password you were supplied by Elive for SMTP Auth. Click OK to go back to the Server Properties.
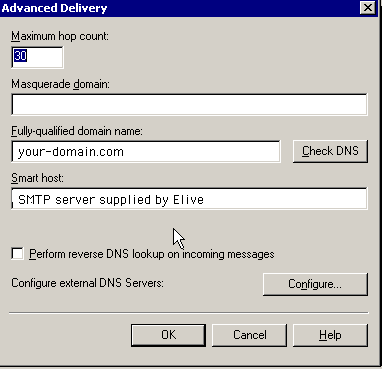
Step 4. Now click on the Advanced Delivery button. In the Smart host window, enter the server setting supplied by Elive to send your mail through. Click OK to save and then click OK again to close the Server Properties window
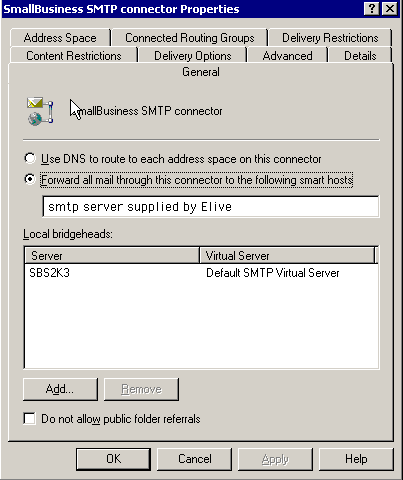
Step 5. If you are using a Small Business Server, you might also have to make changes to the SB SMTP connector properties. If not skip to Step 9. In the Exchange Management Console, select Connectorsand Right Click on SmallBusiness SMTP connector and Select Properties. Under, the General tab, select to Forward all mail through this connector to the following smart hosts. Enter the SMTP server settings supplied by Elive
Step 6. In the same window, select the Advanced Tab.
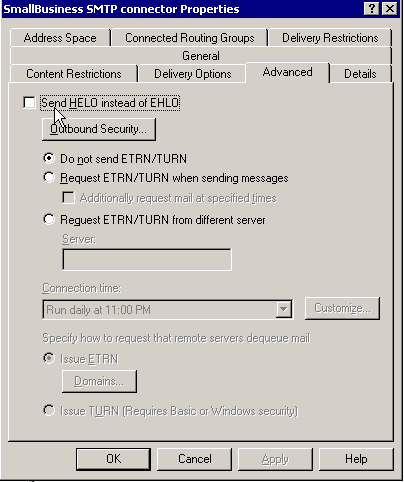
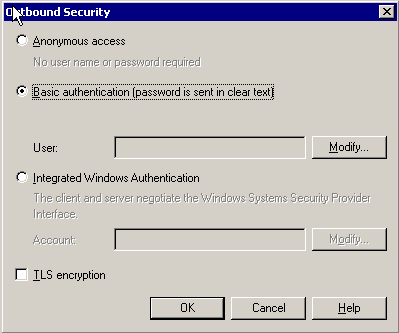
Step 7. In the Advanced tab, click on the Outbound Security Button. Select Basic authentication and click on the Modify Button.
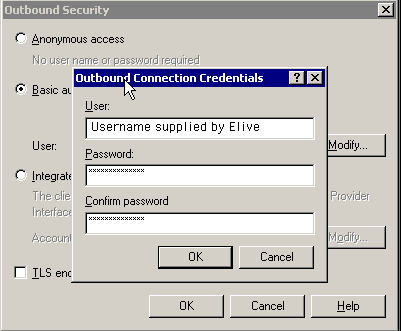
Step 8. Input the SMTP AUTH username and password supplied by Elive. Click OK to save and then click OK again to close the Outbound Security Window. Click OK once more to close the SMTP connector properties window
Step 9. Restart the Exchange SMTP service for changes to take effect. You should now be fully setup wth our SMTP Auth service
