


To create the SMTP Connector, follow the steps below: In the Exchange Admin Console (EAC), navigate to Microsoft Exchange ->Organization Configuration->Hub Transport and then either right click in the open space and select New Send Connector or under "Actions" on the right hand side, select New Send Connector: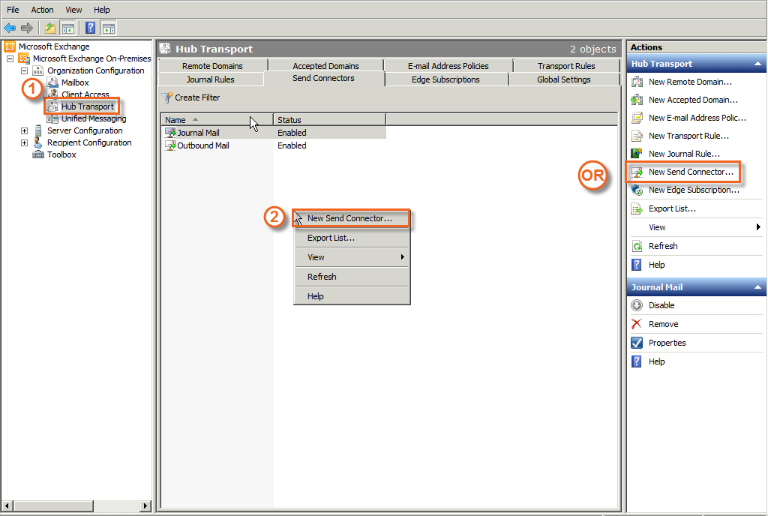
2. Complete the Name field and then select Custom for the intended use of the send connector. When completed Click Next: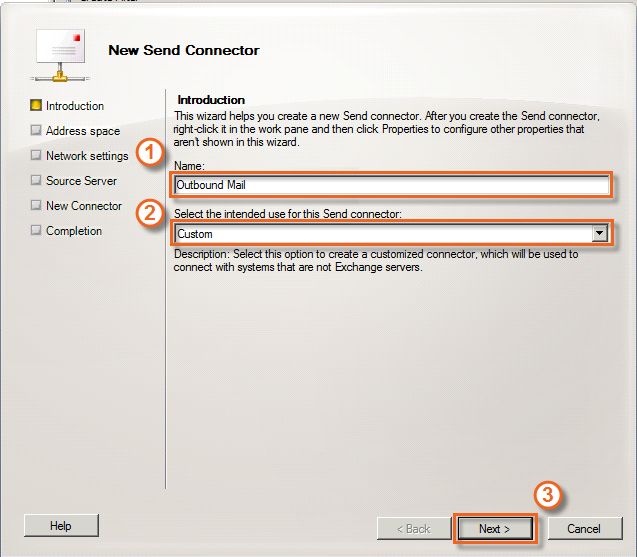
3. Click the Add button and select SMTP Address Space: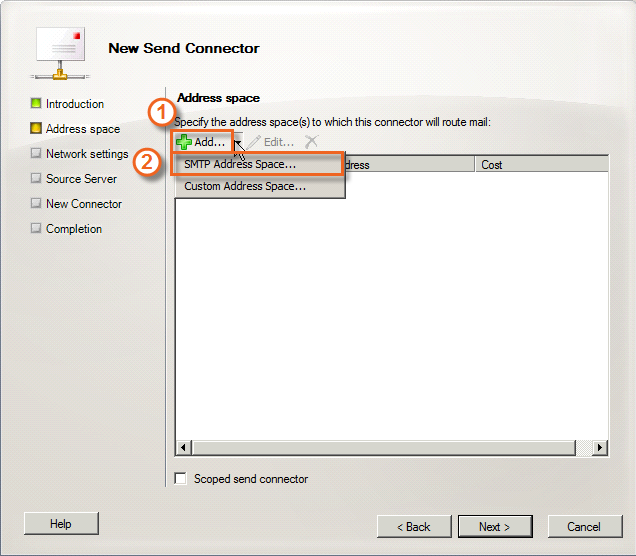
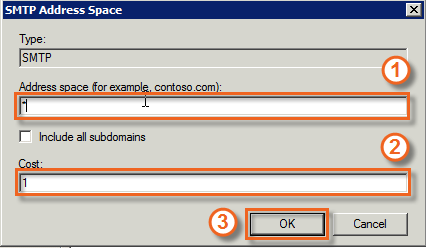
4. Ensure that the values for the Address space are as the screenshot below, when completed click OK;
- Address = *
- Cost = 1
5.Click Next: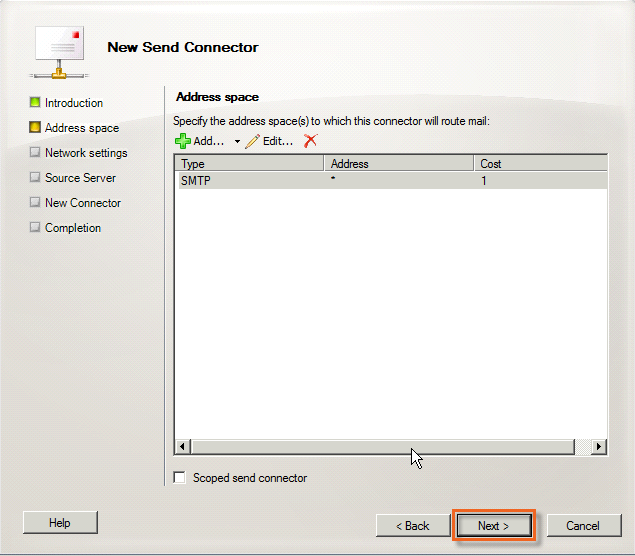
6. Under Network Settings, select Route mail through the following smart host and then click the Add button: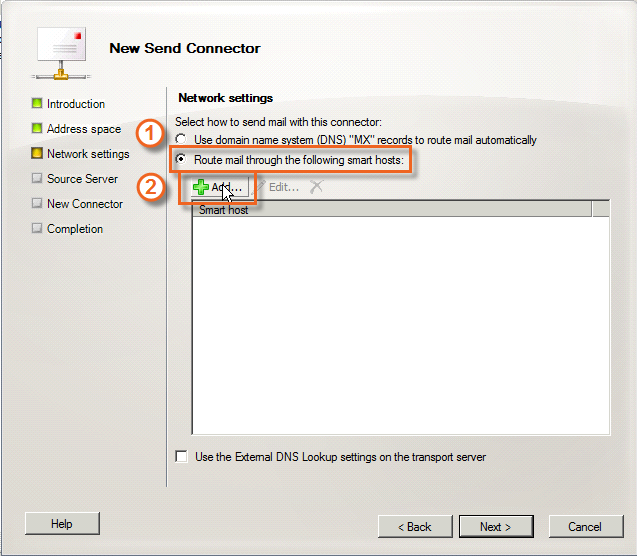
7. The "Add smart host" pop-up appears. Click the Fully qualified domain name radio button. Here you enter your smtp hostname.
8. Click Next:
9. Click Basic Authentication and populate your smtp username and password fields. 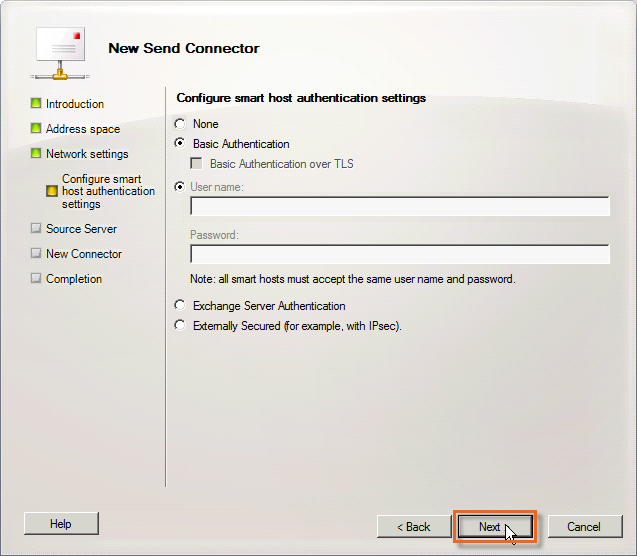
10. Add the Source Sever and click Next: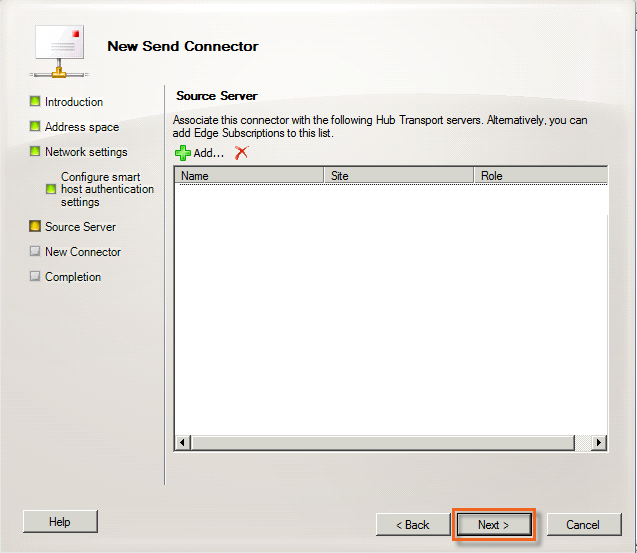
11. The next screen shows the details of the connector. Check that everything is correct and then click New: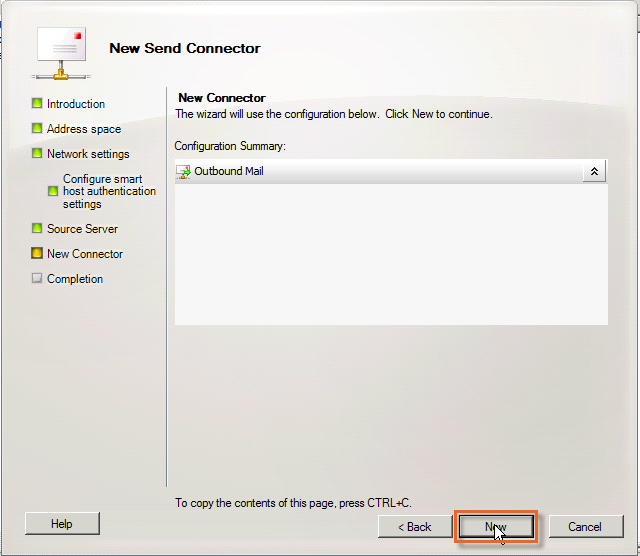
12. This will start a test of the connector. Once the test is complete and there are no issues, click Finish: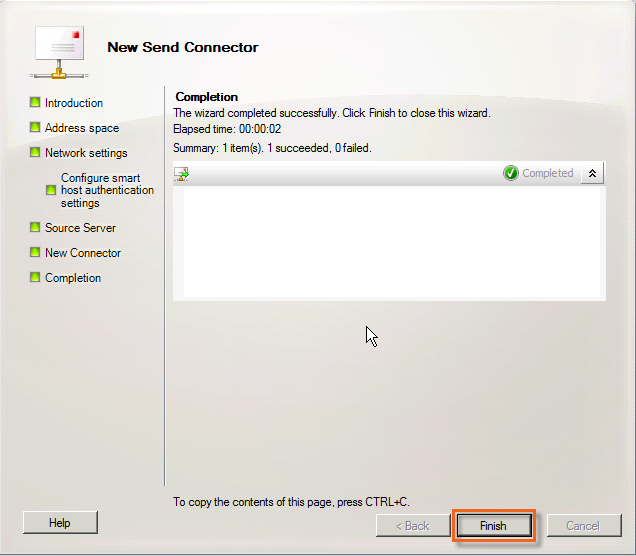
The finished connector can be seen in the send connectors area:
